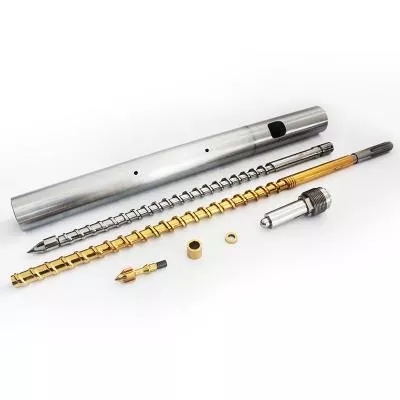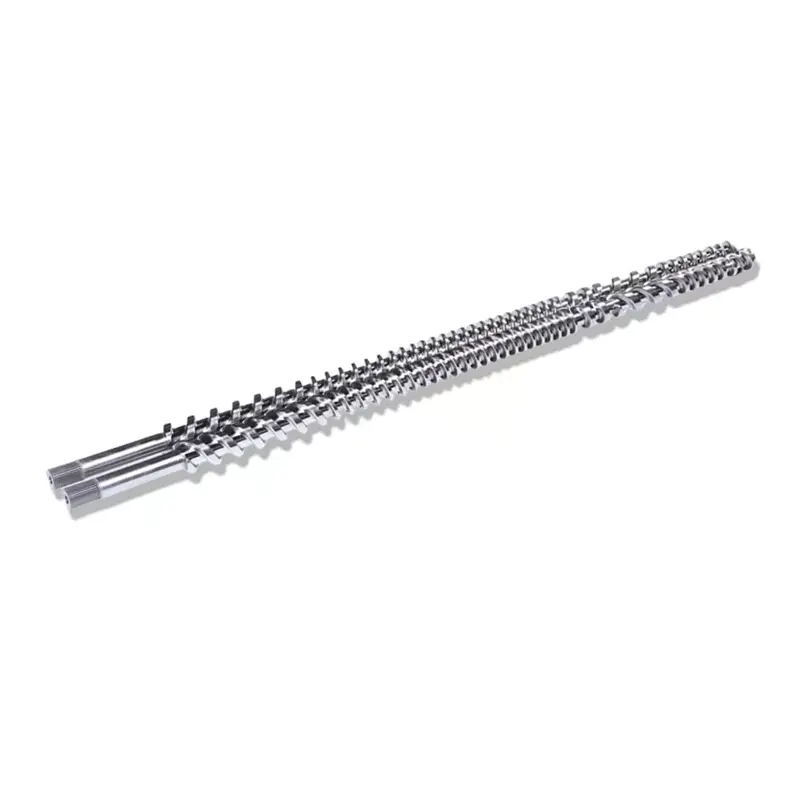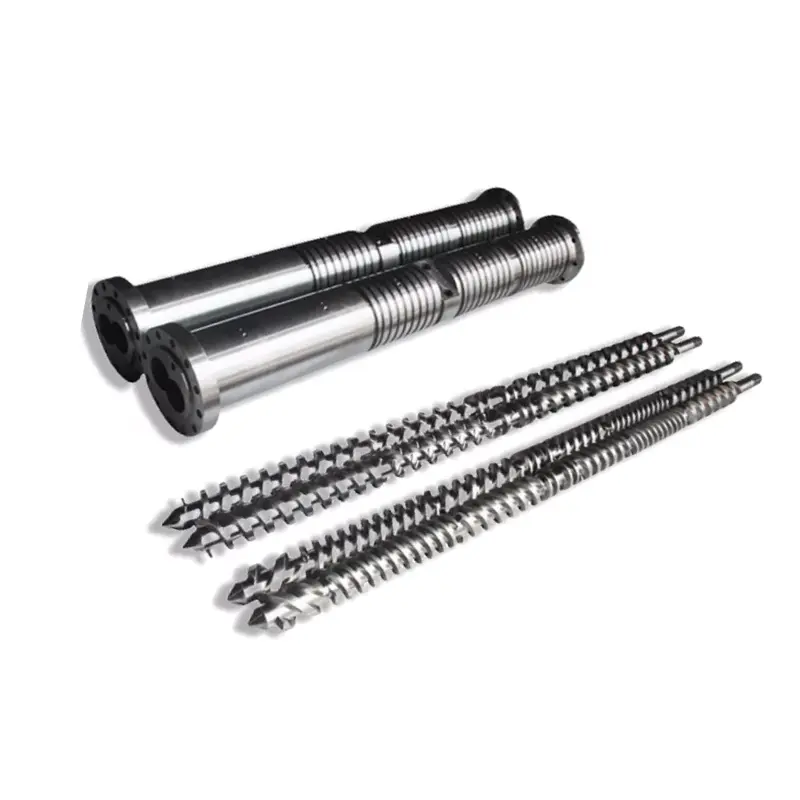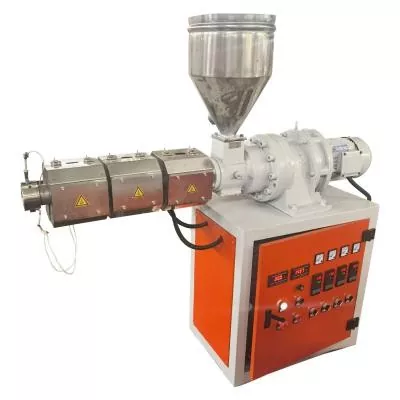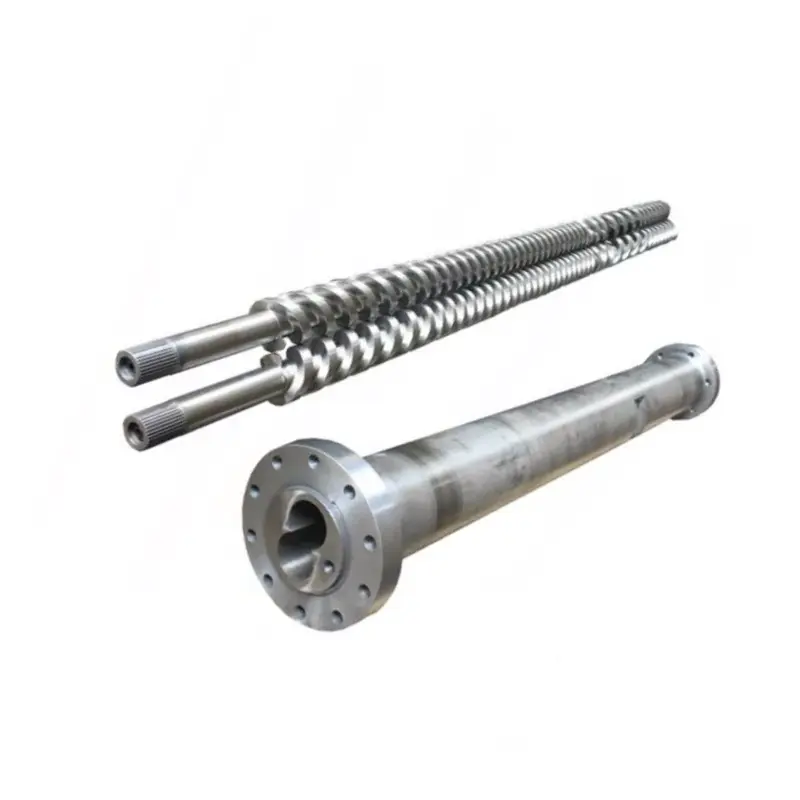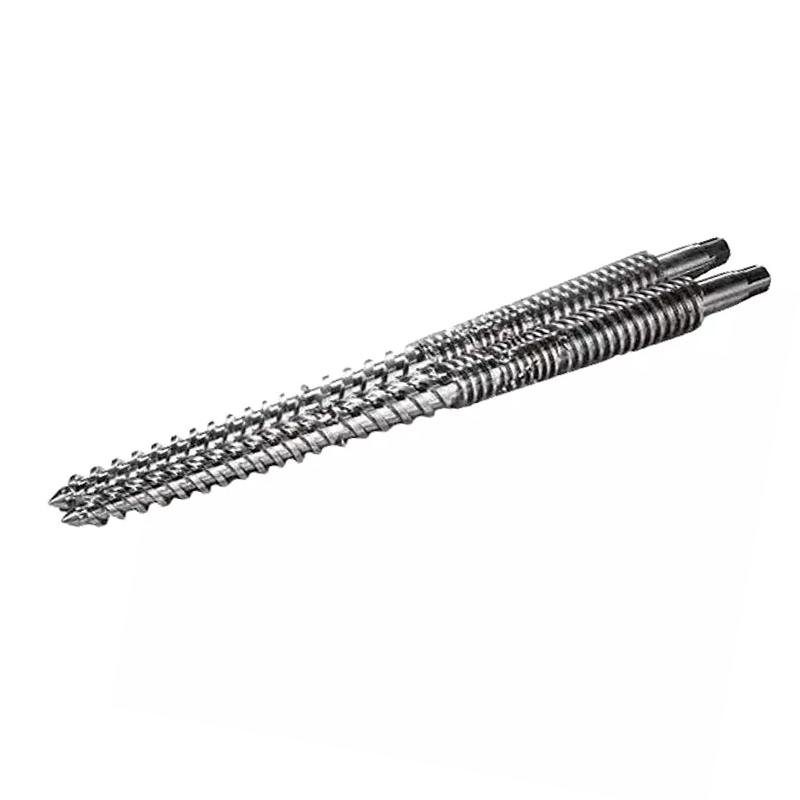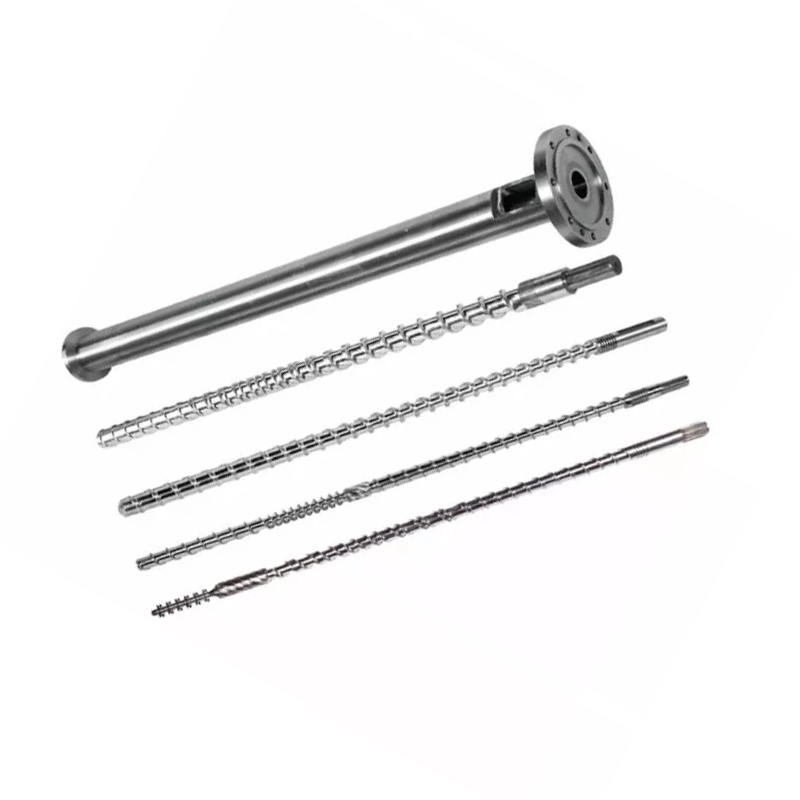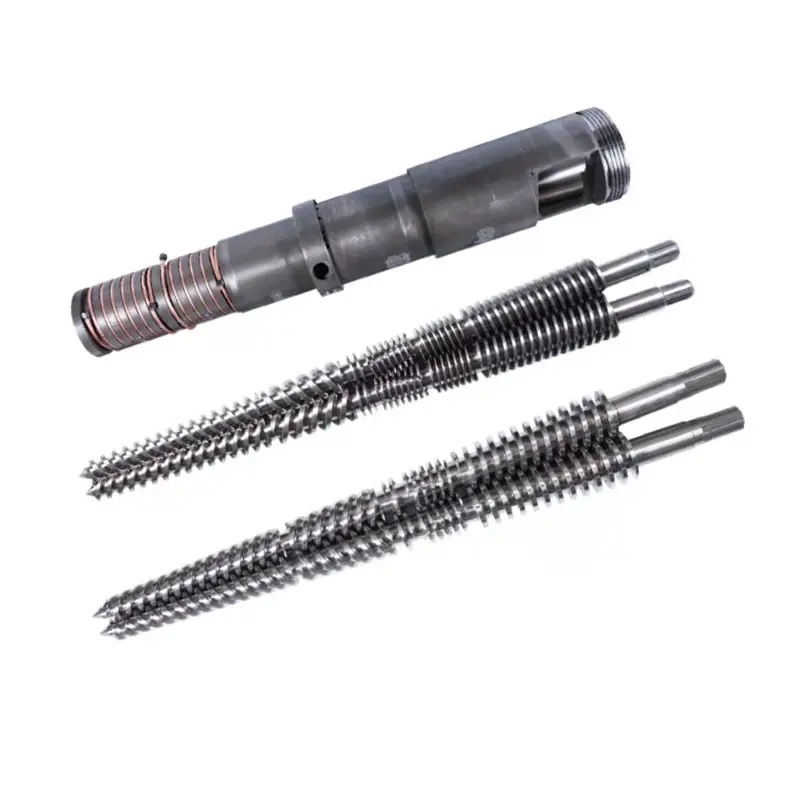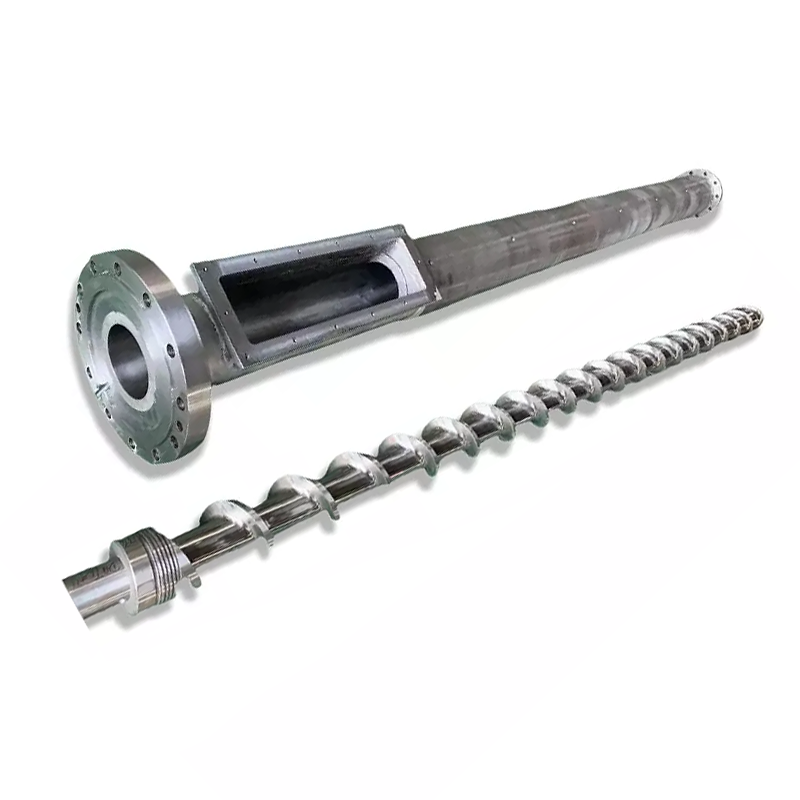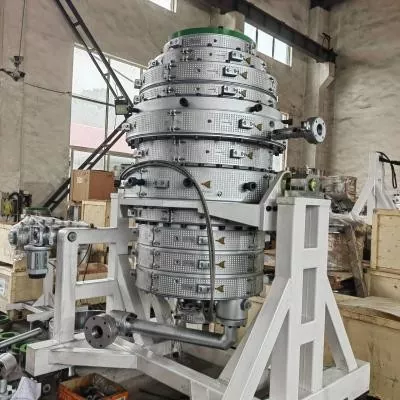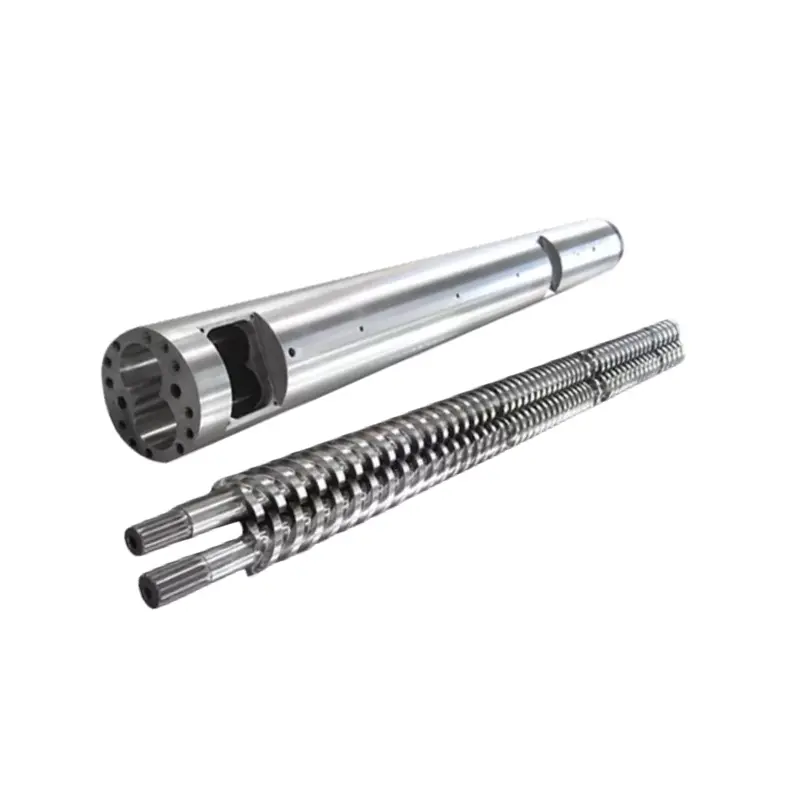

Cleaning should remove polymer and contamination without changing the metal surface, screw geometry or barrel bore. The correct method depends on whether the task is a routine purge, a shutdown clean or a full screw pull.
Quick answer
Use a layered method. Start with the material and machine supplier's approved purge procedure while the extruder remains under normal operating control. If residue returns or the screw must be exposed, stop, isolate and verify hazardous energy according to the plant procedure.
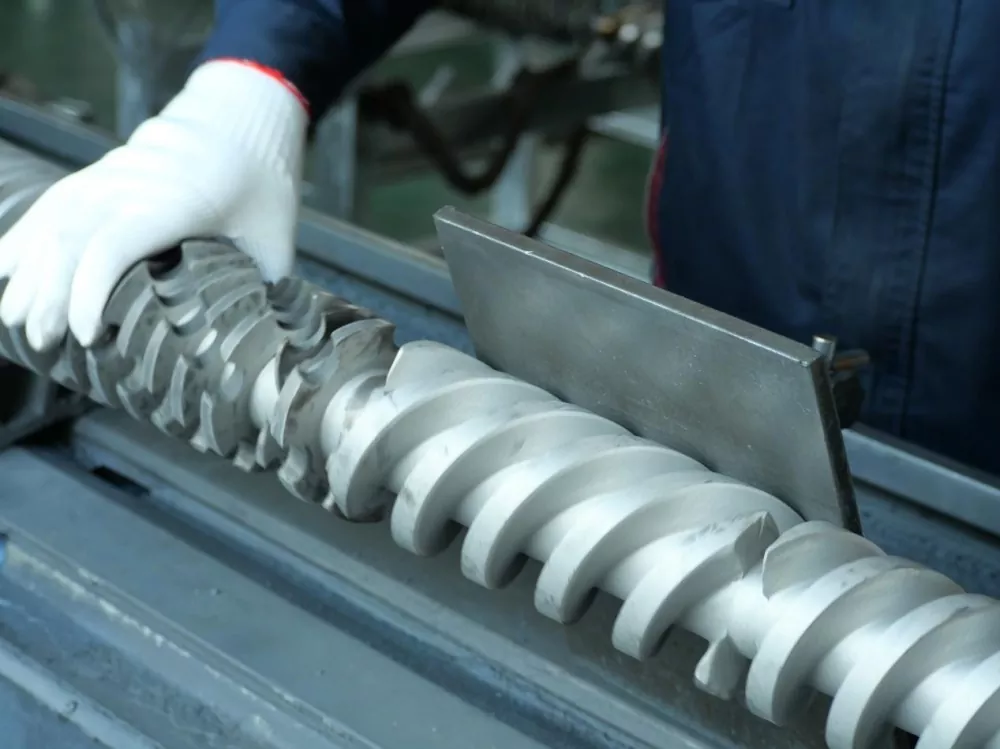
For a removed screw, use component-approved non-damaging tools. Industry guidance recommends brass tools, copper gauze and cotton cloth, and warns against steel scrapers and localized torch heating. Inspect the clean surfaces before deciding that the problem is wear.
First decide what "clean" means for this job
A color change does not need the same intervention as repeated black specks. Pulling a screw for every changeover adds handling time and creates new opportunities to nick flight edges, damage connections or introduce dirt. Purging forever is equally poor practice when a deposit is trapped outside the moving melt path.
Define the required result before choosing a method. The acceptance point may be a stable color transition, removal of a previous resin, a contamination-free restart, access for dimensional measurement or a clean surface for repair evaluation.
| Cleaning level | Typical reason | What it should achieve | Decision gate |
|---|---|---|---|
| Production purge | Routine material or compatible color transition | Displace the previous material through the normal flow path | Use only a material-compatible purge and the approved machine procedure |
| Controlled shutdown clean | Planned stop, heat-sensitive material or restart risk | Reduce residue that could remain hot, degrade and release at restart | Match the shutdown method to the resin, tooling and expected stop duration |
| Contamination investigation | Black specks, gels, streaks or unexplained carryover | Locate whether the source is feed, screw, barrel, screen, adapter or die | Stop extending the purge when the trend no longer improves |
| Screw pull and manual clean | Trapped deposits, inspection, measurement or repair review | Expose clean metal without scratching, bending or altering the surface | Use trained personnel, energy isolation, lifting support and component-approved tools |
Our factory view: cleaning is successful only when it removes the deposit and preserves the part. If a method leaves scratches in a polished flight, bends a long screw or chips a surface layer, it has exchanged one contamination problem for a more expensive hardware problem.
Record the process evidence before you clean it away
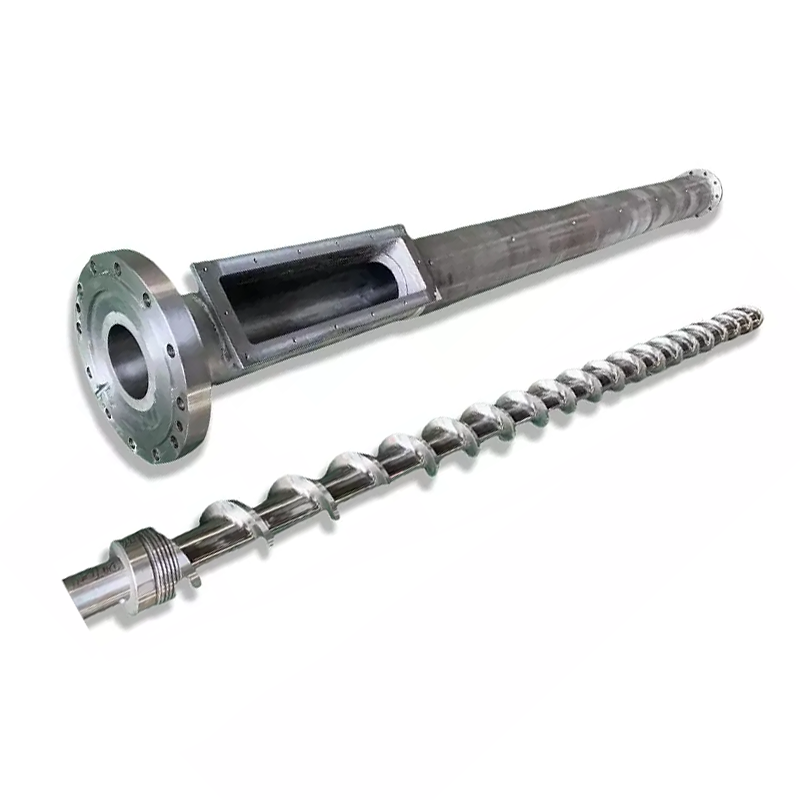
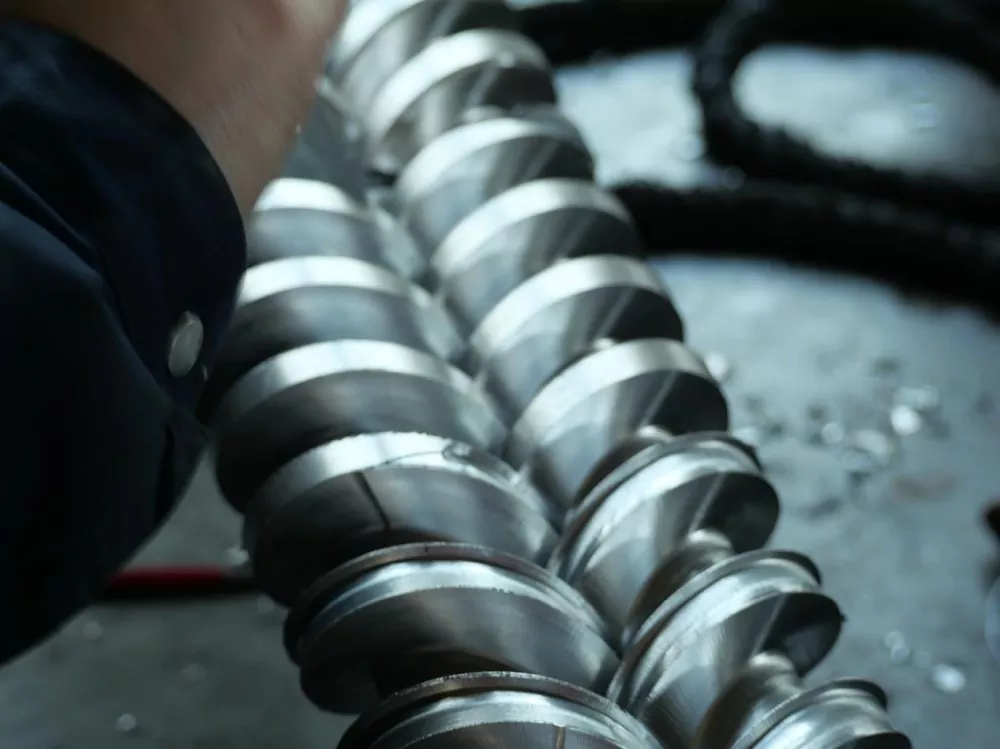
Residue location, color and texture can help separate a material problem from a residence-time or wear problem. Photograph the discharge, screen pack, adapter, screw tip and the first exposed screw section before wiping them clean. Mark where each sample came from.
Save the last stable and unstable process records. Include resin and additive lots, recent color sequence, barrel-zone setpoints and actual readings, screw speed, feed rate, motor load, melt pressure, output and the time at which the defect appeared.
- Current and previous resin, color and additive
- Drying, storage and feed-path condition
- Startup, shutdown and purge sequence
- Set and actual temperature readings
- Screw speed, feed rate and motor load
- Melt pressure and filter condition
- Defect photos and retained samples
- Location of residue on exposed parts
Nanhaiya's article on recurring black lines in extrusion recommends checking raw materials, equipment cleaning and accessories in that order. It identifies contamination, residual carbonized material, process settings, filter condition and screw or barrel wear as possible branches. That order is more useful than assuming the screw is at fault before the machine is opened.
Do not clean away the diagnosis. If one side of a flight holds degraded resin, or contamination begins after a particular screen or adapter is installed, that pattern matters. A bag labeled "black material" without a location or timestamp tells the maintenance team very little.
Separate an operating purge from maintenance access
An operating purge is performed under an approved production procedure with all guards and danger zones controlled. Manual access, screw pulling, barrel brushing, filter work or tooling removal can expose people to electrical, mechanical, hydraulic, pneumatic, pressure and thermal energy. Pressing a stop button is not the same as isolating those energy sources.
OSHA 29 CFR 1910.147 covers servicing and maintenance where unexpected energization, startup or release of stored energy could cause injury. It includes cleaning when a worker may be exposed to those hazards and requires an energy-control program, procedures, training and periodic inspection. The applicable local law, employer procedure and machine manual remain controlling at each facility.
This article is not a machine-specific lockout, pressure-release or screw-removal procedure. Energy sources, retained melt pressure, tooling weight, screw support points and thermal hazards vary by line. Only trained and authorized personnel should perform the applicable employer and OEM procedure.
A controlled cleaning sequence protects people and parts
The sequence below is a decision framework, not a substitute for the machine manual. Each site must insert its approved purge compound, operating limits, isolation points, lifting plan and inspection form.
- Confirm the material and equipment instructions. Review the resin safety data, purge supplier directions, machine manual and plant procedure. Confirm material compatibility and prohibited combinations before introducing any cleaning compound.
- Capture the evidence. Record process conditions and collect labeled samples. If residue becomes visible during removal, photograph it before cleaning the section.
- Perform only the approved production purge. Watch the normal indicators defined by the line procedure. Stop if pressure, load, temperature or discharge moves outside the approved range.
- Decide whether escalation is justified. If the discharge becomes clean and remains stable, more teardown may add no value. If improvement stops or contamination returns, move to inspection instead of consuming more purge.
- Establish the maintenance boundary. Before guards, tooling or parts are removed, authorized personnel shut down, isolate and control hazardous energy, including stored pressure and heat, then verify the condition required by the site procedure.
- Support the screw and removed tooling. Long screws and heavy heads require suitable lifting and support. Protect flight edges, threaded ends, sealing surfaces and instrumentation during handling.
- Clean exposed surfaces with approved methods. Remove softened residue without forcing a harder tool against the metal. Work in manageable sections and keep removed debris out of the open barrel and connections.
- Inspect before reassembly. Look for scratches, pits, coating damage, raised edges, localized deposits and abnormal wear. Measure when the maintenance plan or symptoms require it.
- Reassemble and restart under the OEM procedure. Confirm connections, guards, tooling, fasteners and removed energy-control devices according to site authorization. Use a controlled restart and document the first stable output.
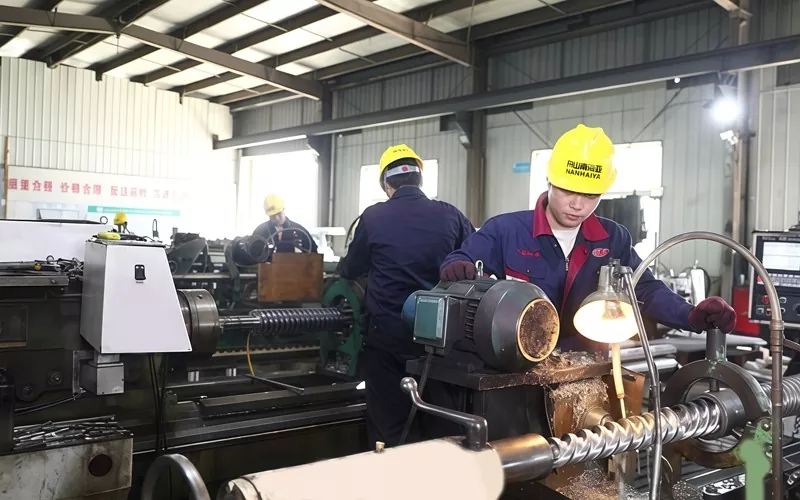
Use tools that remove polymer, not metal
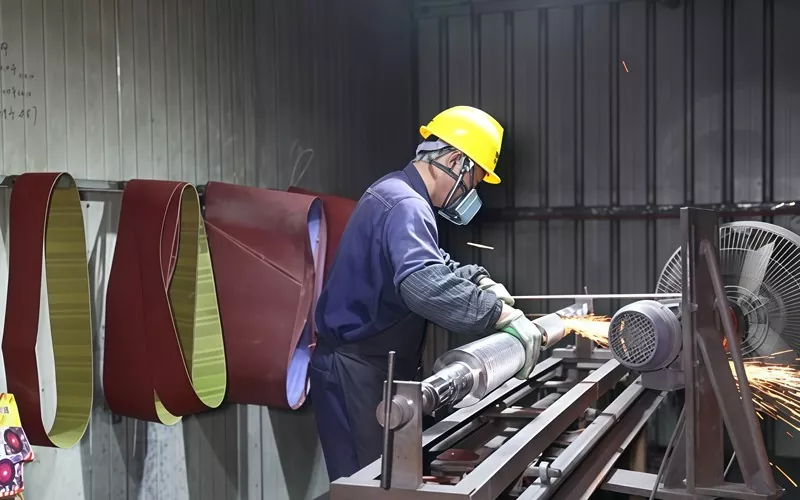
A 2026 Plastics Technology article by Mark Spalding of Dow and Timothy W. Womer recommends brass tools, copper gauze, stearic acid and cotton cloth for a removed single screw. It warns that steel tools may damage the base metal or chrome plating.
The same article warns against using a torch because localized heating can alter the steel and bend or weaken the screw.
That guidance is useful, but the component specification still comes first. A nitrided screw, hard-chrome surface, sprayed flight, bimetallic barrel and unknown repair layer do not automatically accept the same chemical or thermal method. Ask the component supplier when the surface system is uncertain.
| Practice | Factory assessment | Why it matters | Better control |
|---|---|---|---|
| Brass tool or copper gauze on an approved surface | Common industry method | Designed to remove residue with less risk than improvised steel tools | Confirm the component, cleaner and temperature are compatible |
| Steel scraper, screwdriver or steel wire brush | Avoid unless specifically approved | Can scratch base metal or damage a plated surface | Use the specified soft tool and stop when residue will not release |
| Localized open-flame heating | Do not use on the screw | Can change metallurgy, straightness and strength | Use only a controlled method validated for the component and coating |
| Hammering or prying on flights | Reject | Can deform edges, raise burrs or bend the component | Use the OEM extraction method and investigate unexpected resistance |
| Grinding or abrasive blasting as a shop-floor clean | Not a default cleaning method | Can alter finish, dimensions and surface protection | Send stubborn or damaged parts for an approved specialist process |
| Leaving grit or metal debris before assembly | Reject | Debris can score a bore or contaminate the restart | Use a documented final wipe, visual check and protected storage |
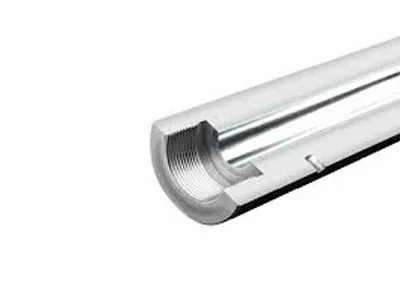
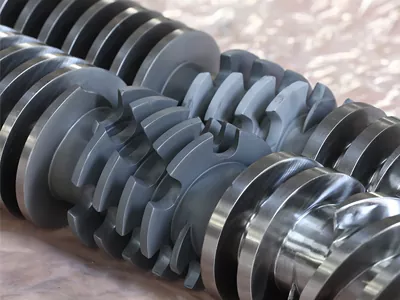
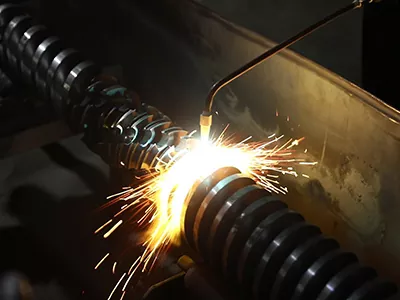
Our factory view: when residue will not release with the approved soft method, the answer is not a harder scraper. Stop and identify the polymer, surface treatment and deposit condition. A specialist cleaning or repair decision is cheaper than cutting an unknown groove into a precision surface.
If black specks return, widen the search
A clean screw inside a dirty flow path can still produce black specks. Check the hopper and feed throat, screen changer, breaker plate, adapter, sensor ports, die and any surface where polymer can remain. Confirm whether the defect starts immediately, appears after a hold period or changes with pressure and screw speed.
Nanhaiya's black-line article says incomplete cleaning during downtime can leave residue that carbonizes during restart. It also identifies excessive temperature, a speed-to-feed mismatch, clogged or damaged filters and wear-related gaps as possible causes. These are diagnostic branches, not proof that every black speck comes from the screw.
| Observation after cleaning | What it may suggest | Next evidence to collect |
|---|---|---|
| Discharge clears and remains stable | Mobile residue may have been displaced | Record purge amount, time and stable restart settings |
| Specks disappear, then return after a hold | A stagnant or overheated area may still contain degraded polymer | Map timing, temperature, pressure and the downstream flow path |
| Defect changes after a screen or die intervention | The source may be downstream of the screw | Inspect each removed part and label the residue location |
| Metallic particles or scoring appear | Contact, wear or damaged parts may be involved | Stop and inspect clearances, alignment and surface condition |
| New color continues despite stable operating data | A pocket or incompatible changeover sequence may remain | Review material compatibility and the full previous-material path |
For a separate diagnostic workflow, use the single screw extruder surging guide when output, pressure or motor load cycles. Use the wear measurement guide when clean surfaces and operating evidence point toward clearance or localized damage.
Cleaning is finished only after inspection
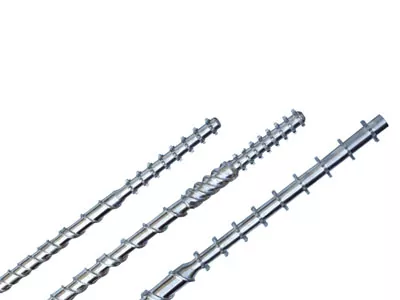
Inspect the cleaned screw root, flight flanks, flight outside diameter, tip, shank and connection. On the barrel side, inspect the accessible bore, feed section, vent area, thermocouple and pressure-tap interfaces, and the connection to the adapter or head. Record the location of every scratch, pit, raised edge, coating change and persistent deposit.
Do not use appearance alone to approve the pair. A shiny screw can be undersize, and a dark surface may be intact beneath removable residue. When performance has changed, measure the screw and barrel by axial zone and compare the results with the original drawing or an accepted baseline.
When cleaning is not enough
- Contamination returns from the same location after a documented clean
- Cleaned surfaces show scoring, pitting, chipped layers or raised metal
- Measured screw and barrel clearances exceed the approved condition
- Pressure, output or motor-load behavior changed with no matching material change
- The screw cannot be removed or installed with the force expected by the OEM procedure
- The component history, repair layer or coating is unknown
At that point, compare the cost and risk of repair, screw-only replacement and matched screw-and-barrel replacement. The article Should you replace the screw only or both screw and barrel? explains why a new screw should not be approved against an unmeasured worn barrel.
What the factory needs before recommending a replacement
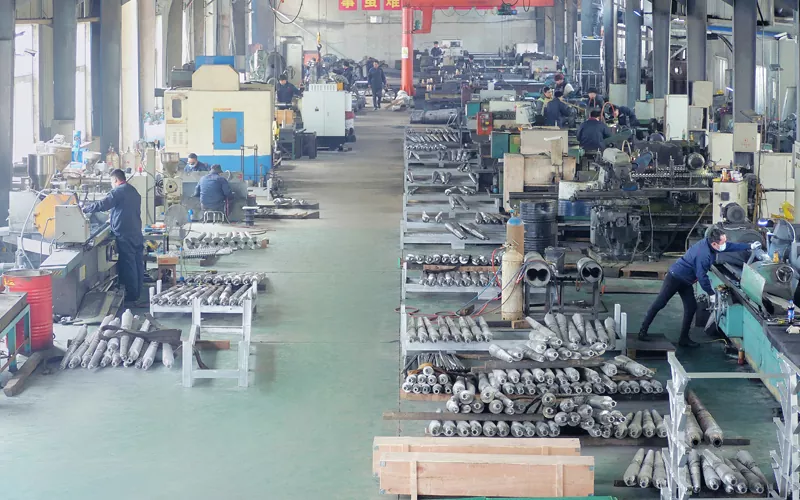
Zhoushan Nanhaiya Plastic Machinery Co., Ltd. states that it has manufactured screw and barrel products since 2014. Its company profile describes custom screw design, alloy spray welding and full product manufacturing for single, conical twin and parallel twin screw systems.
Nanhaiya's production equipment page publishes a CNC saw feed error of no more than 0.1 mm, CNC lathe capability for workpieces up to 6 m and drilling and milling positioning accuracy of 0.02 mm.
It also describes five-axis machining for irregular flights and special flanges. These are company-published factory capabilities; the approved drawing and inspection plan must define the actual order.
Our factory view: we do not want a buyer to copy a worn screw and call it the original design. Clean and measure the old pair, then send the machine, material and process duty. If the old geometry caused residence-time or changeover problems, a dimensionally accurate copy can repeat the same fault.
For replacement preparation, use the replacement single screw specification guide. If the screw is used in pellet recycling or film production, also send the application details described in the granulation screw guide or film blowing screw guide.
Send this cleaning and inspection data pack
A technical review improves when the evidence is organized by time and location. Send original files where possible, including a dimensioned drawing rather than screenshots of unreadable numbers.
- Machine maker, model and serial reference
- Screw diameter, L/D and connection drawing
- Resin grades, additives, fillers and recent sequence
- Approved purge compound and procedure used
- Temperature, speed, load, pressure and output trends
- Defect samples with time and location labels
- Before-and-after cleaning photos
- Screw flight and barrel bore measurement map
- Known base material, coating and repair history
- Required product quality and present production loss
Frequently asked questions
What is the safest first step when cleaning a single screw extruder?
Start by identifying whether the task is an in-process purge or servicing that exposes a person to hazardous motion, pressure, electricity or stored heat. Follow the machine manufacturer, material supplier and plant procedure. If the work enters a danger zone or requires guards or tooling to be removed, authorized personnel must apply the required energy-control procedure before access.
Can I clean an extruder screw with a steel scraper or wire brush?
Do not use steel tools on precision screw or barrel surfaces unless the component manufacturer has approved that exact method. Industry guidance for single-screw cleaning recommends brass tools and copper gauze because steel tools can damage the base metal or chrome plating.
Can I use a torch to burn polymer off an extruder screw?
No. Localized torch heating can change the base steel and bend or weaken the screw. Use only the cleaning method and temperature controls approved for the component material, coating and polymer. Specialist thermal cleaning requires a validated process, not an open flame on the shop floor.
Is purging enough to remove black specks from an extruder?
Sometimes, but not always. If the discharge improves and stays clean, the contamination may have been mobile residue. If black specks return, inspect raw materials, feed and downstream tooling, trapped deposits, filter condition and screw or barrel wear instead of extending the purge indefinitely.
When should the screw be pulled for manual cleaning?
Consider a screw pull when an approved purge cannot clear repeat contamination, when inspection or measurement is due, or when process evidence suggests trapped degradation or wear. The decision and removal method must follow the machine manual and be performed by trained, authorized personnel with correct lifting and support equipment.
What information should I send Nanhaiya after cleaning does not solve the problem?
Send the resin and additives, recent material and color sequence, temperature profile, screw speed, motor load, melt pressure, output trend, shutdown and purge method, photos of residue and surfaces, barrel bore and screw flight measurements, machine model and available drawings. This helps separate contamination, process mismatch and component wear.
Editorial note: This guide distinguishes company-published information from external safety and industry guidance. It does not replace an equipment manual, material safety data, employer energy-control procedure or applicable local law. Order-specific dimensions, materials, coatings and acceptance criteria require an approved drawing and contract.